


Windshields take a lot of abuse when we’re driving, but have you ever considered the damage they’re exposed to while parked? Road chips, airborne debris, gravel, rain, and even sunlight are some of the many things that can damage your windscreen over time. This post will share a step-by-step detailing process you can use to protect your windshield.
To protect your car’s windshield: Lift your wiper blades, apply a glass cleaner to remove dirt and debris, strip the windshield of any pre-existing coatings, and apply a ceramic glass coating.
Tools and materials required
Here’s what you’ll need to keep your car’s windshield protected:
- Glass Cleaner
- Glass Stripper
- Ceramic Glass Coating
- Microfiber Towels
- Rain Repellent
Lift your wiper blades
Lift your windshield wiper blades to expose the glass surface before beginning to give you access to the entire surface as you clean and apply various products. This step will also ensure that the rubber tips of the wiper blades remain product-free; they can prematurely dry out or crack over time if chemicals linger.
Apply a glass cleaner to remove dirt and debris
Apply your choice of glass cleaner to remove any dirt or debris on the windshield. Be thorough with this step, as the following steps will use abrasives that, combined with lingering dirt and scrubbing pressure, may scratch your glass.
Make sure to use a glass cleaner that’s additive free and is safe for tints. Additives, like scents or dyes, tend to leave residue on your glass that cause streaks. Not all glass cleaners are safe for window tints and special coatings. Consider our Stoner Invisible Glass, as it’s formulated to fit the bill.
Use a conservative amount of glass cleaner, spraying an even, thin layer from left to right, working from top to bottom. Using too much glass cleaner will create excess that’ll be more time-consuming to remove.
Go over the windshield using the same technique with a microfiber towel to cover all areas of the glass. If you have stubborn debris, apply more cleaner before wiping.
Strip the windshield of pre-existing coatings
Once the windshield is clean of debris and dust, you can start stripping the glass's surface. A glass stripper will remove baked-on water spots, hard water materials, road salt, and any pre-existing coatings that may be present.
Why break down pre-existing coatings? Bare glass means that nothing will be between your surface and the newly-applied protectant. It’ll help the ceramic glass coating to cure onto your windshield. Need a trustworthy glass stripper? Stoner’s Glass Stripper is a safe bet for beginners, as it contains mild abrasives that deep clean the glass without risk of scratching. It’s easy to use and apply in a few basic steps after cleaning off the windshield:
- Apply Glass Stripper gel to an applicator sponge.
- Scrub the windshield in small, circular motions.
- Once the windshield is covered, rinse thoroughly with water.
- Wipe away any remaining Stripper with a clean, dry microfiber towel.
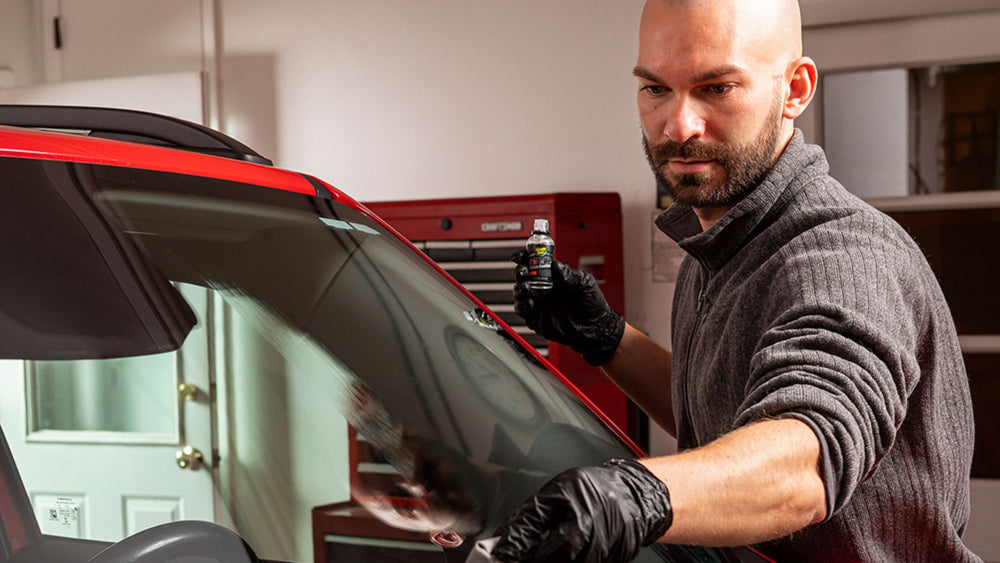
Apply a ceramic glass coating
Now that the windshield is thoroughly cleaned and stripped, you can apply a ceramic glass coating. Stoner’s Ceramic Glass Coating <LINK> offers professional-grade results with an easy DIY application that you can do in your driveway. This product will double the hardness of your glass and provide long-lasting protection.
Pre-application considerations
Generally, most ceramic glass coatings bond best in a temperature-controlled environment, like a garage. If you don’t have a garage, we recommend applying these products in a partially shaded area, under a tree or roof, if possible. Ideally, use ceramics in temperatures above 40 degrees Fahrenheit and a location with low humidity and moisture. Avoid rainy, snowy, or humid days.
Step-by-step application
Pick a ceramic coating of your choice and begin application onto your newly stripped and cleaned glass. If you’re using Stoner’s Ceramic Glass Coating, follow the steps listed below:
|
Step 1 |
Apply approximately 2 mL of the ceramic coating (done by turning the bottle upside down three times) to the included applicator pad. The pad should be damp, not soaking wet. |
|---|---|
|
Step 2 |
Start with a small area of the windshield. First, wipe the area in vertical lines, then immediately wipe the same area using horizontal strokes. This technique ensures even coverage. The windshield may appear wet and streaky at first, but as it cures, it’ll flatten out and take on a rainbow-like appearance. |
|
Step 3 |
After waiting one-to-five minutes after the initial application, wipe the area with the black towel, using straight top-to-bottom motions to wipe away excess ceramic fluid. |
|
Step 4 |
Use the included gray microfiber as a buffing cloth. Dry buff until you can no longer see the rainbow hue. |
|
Step 5 |
Repeat the process, working in small areas until the windshield is fully covered. |
Mess up? Read below.
Get sidetracked? Did the product cure too fast? Did the rainbow effects reappear?
No worries. Reapply the ceramic coating to the affected area and repeat the two-cloth buffing process. If rainbows, smears, or an uneven appearance is present after four hours, strip down the affected area and repeat the process.
Benefits of ceramic glass coatings
The initial application of a ceramic glass coating takes time; however, the many benefits of ceramic glass protectants greatly outweigh the application time.
Doubles the hardness of your glass
Travel can throw all types of contaminants at your car: rock chips, gravel, bugs, and other debris. These may cause considerable damage at high speed, chipping or even cracking your exterior glass and costing you money. Stoner’s Ceramic Glass coating helps double your windshield’s hardness, giving you greater resistance to anything that comes your way.
Long-lasting protection
Initial application time may range depending on user experience. Similarly, the lifespan of a Ceramic Glass Coating can last over a year, depending on the climate in which you live. At a minimum, you will enjoy months of protection from chemicals, abrasion, and weather - whether on the road or parked.
Commonly asked questions
Ceramic technology is relatively new. The questions below will directly answer questions for Stoner’s Ceramic Glass Coating, but should apply to most ceramic coatings on the market:
Do I need a UV/IR light to cure ceramic coatings?
Many videos online will showcase detailers using advanced lighting to help showcase ceramic coating curing. While it looks impressive, you do not need a light to use Stoner’s Ceramic Glass Coating effectively.
Can you layer ceramic glass coatings?
Yes, though you should wait a minimum of a few hours before laying down a second coat. You can add more than two layers, although you won’t yield additional benefits. If you add an extra layer, ensure the vehicle doesn’t get wet in the time between coatings.
Can you reuse the microfiber towels and applicator pad?
We recommend against re-using the microfiber towels and applicator pad after ceramic application. Ceramic coatings dry hard, so their applicators cannot be washed or reused.
Can I use glass ceramic on headlights?
Yes, Stoner’s Glass Ceramic will protect headlights from becoming permanently fogged. Though Glass Ceramic won’t restore or correct foggy headlight units, it will prevent oxidation and damage from everyday wear and tear.
Don’t let anything spoil your view.
Your car’s windshield is at risk, whether on or off the road. A ceramic glass coating won’t just protect your windshield; it’ll also protect your passengers and your wallet. Follow these steps to protect your windshield: Lift your wiper blades, apply a glass cleaner to remove dirt and debris, strip the windshield of any pre-existing coatings, and apply a ceramic glass coating. You will see clearly no matter what comes your way.

