

You spend hours inside your car each week, and all that time can quickly lead to cabin clutter build-up. This post will discuss the step-by-step process of cleaning your vehicle's interior, along with some handy tips and time-saving tricks.
To clean the inside your car: Take out and clean the floor mats, remove large items, vacuum the interior, clean upholstery on the seats, clear dust on the dashboard, carefully clean the center stack, detail remaining trim areas, and wipe interior windows.
Tools & Materials
Interior detailing involves a wide range of surfaces, so you’ll want to ensure that you have all the tools on hand to adequately address these areas before cleaning.
Tools needed:
- Vacuum cleaner
- Upholstery cleaner(s) -- one for seats, the other for floor mats or carpeting
- 10+ Microfiber towels
- Trim cleaner
- A streak-free glass cleaner
Optional tools, but recommended:
- Duster
- Medium-bristled brushes
Take out and clean the floor mats
Begin by removing floor mats from the vehicle: the driver, front passenger, back passenger, and trunk mats. Before shaking out each to remove debris, step several feet away from your car. Then, use a vacuum cleaner to suck up dirt for standard carpeted mats. For all-weather rubber mats, we recommend using soapy water and a microfiber or brush to remove debris.
Floor mats take a ton of abuse from shoes tracking in dirt and grime, leading to potential staining, especially on carpeted surfaces. Light scrubbing with a simple hot, soapy water solution should remove most stains. Check out our upholstery cleaning guide for advice on addressing more stubborn stains.
After cleaning, leave mats in an out-of-the-way area to dry.
Remove large items from the cabin
Before continuing, remove any large items from your car’s cabin; bags, takeout trash, item receipts, or anything else large enough to be cleaned by hand. This step will make the following steps more manageable and eliminate the risk of clogging your vacuum cleaner.
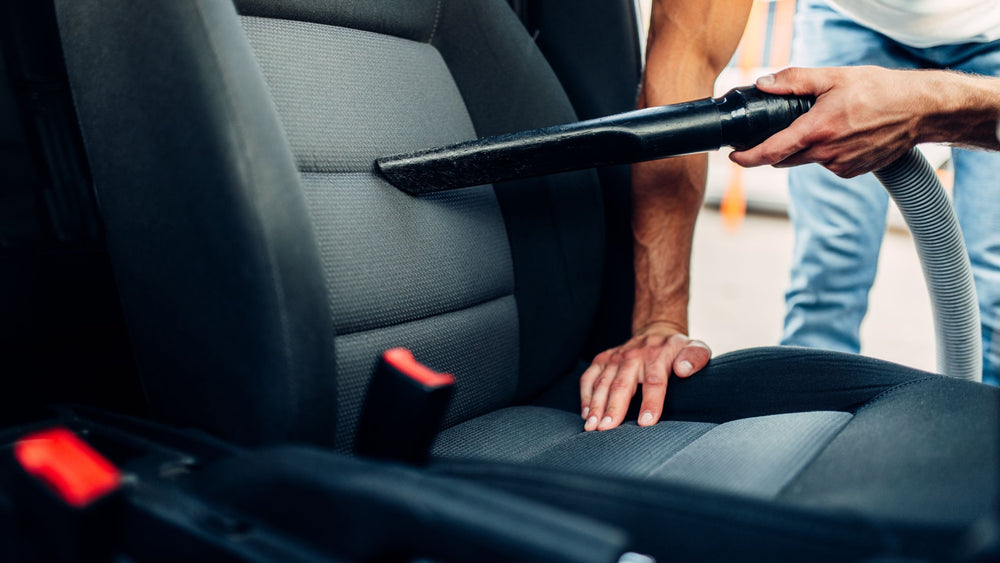
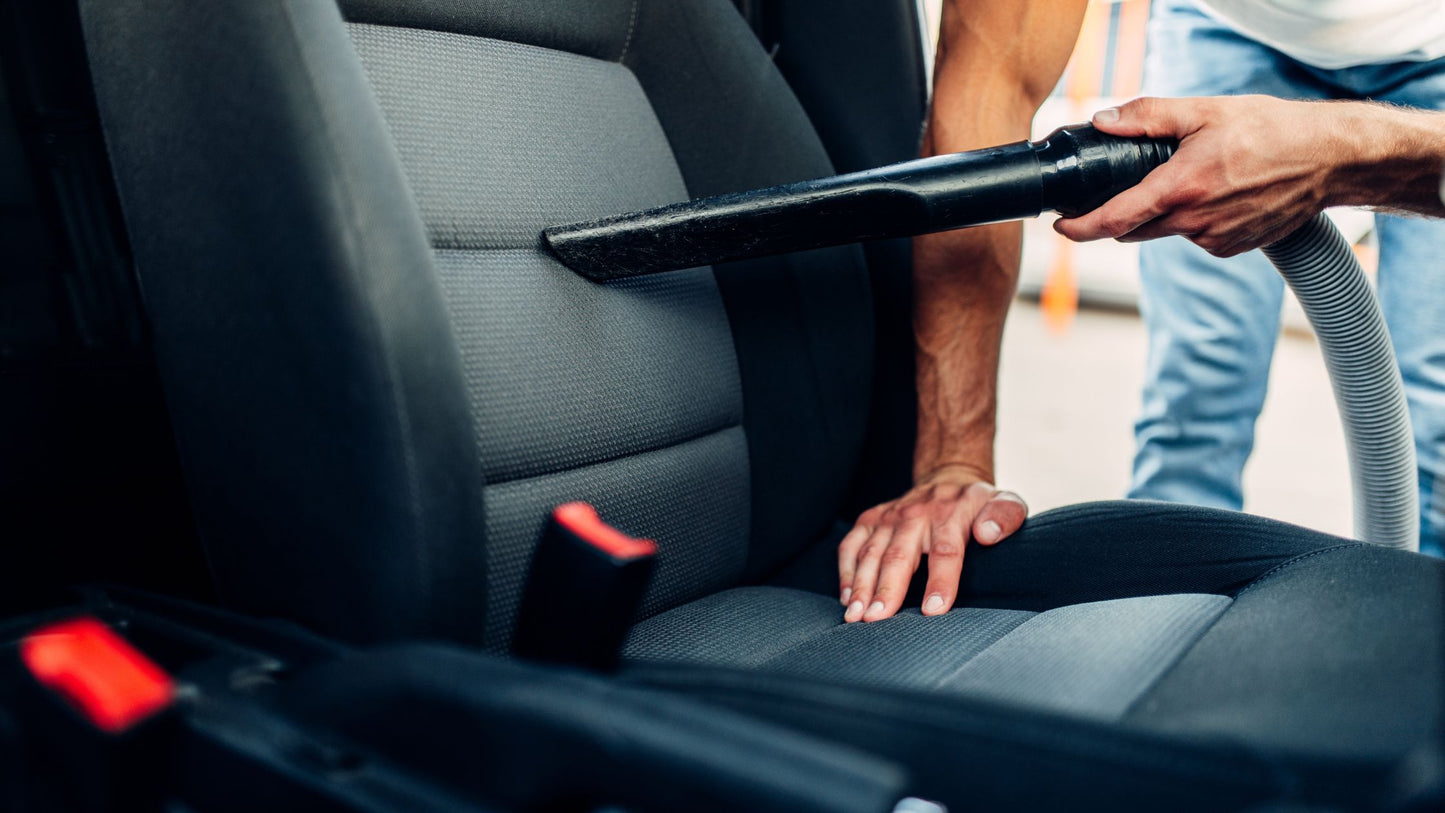
Vacuum the interior
Small debris such as leaves, cinders, crumbs, and soil often make their way into the driver’s cabin to call it home. A vacuum can pick up almost any small debris that dirties your interior. Start with the seats, focusing on the small cracks and crevices. Be sure to vacuum thoroughly, as the subsequent step requires pressure and scrubbing. Scouring with hard debris, such as rocks, can cause tearing and damage to vehicles’ surfaces.
Use attachments to get into small areas like cushion creases or cup holders. Some cars feature removable cup holders. If you have them, remove them, and place them in warm water and soap to soak before wiping them out with a microfiber cloth.
After cleaning your seating area, move onto the driver and passenger footwells. For the driver’s well, vacuum on and behind the foot pedals; this will remove dust and improve traction. For the passenger’s area, vacuum well underneath and between the seat and center console.
Clean upholstery on the seats
Once the cabin is free of large and small dirt and debris, it’s time to clean the seats. You’ll need to pick a cleaner based on your seat’s upholstery – often leather or cloth.
Cleaning leather
Leather upholstery requires careful cleaning. For a complete, in-depth guide to cleaning leather, check out our post here.
In short, leather upholstery requires cleaning, rehydration, and protection. Generic leather cleaners will lift dirt and grime from the surface; however, this can strip the leather of natural hydration, leading to cracking or other issues. Using a basic leather cleaner, you’ll want to take the time to apply a leather hydration solution post-cleaning. After cleaning and hydrating, we recommend applying a leather protectant.
Fortunately, a three-in-one leather cleaner can clean, protect, and condition your leather all within the same step. These products will save you both money and time.
Cleaning upholstery
The primary consideration with upholstery is the amount of cleaner you use. Too much cleaner will seep deep within the fabric, slowing the drying time and potentially causing additional problems. Select an upholstery cleaner with a foaming action; this helps the cleaner remain on the upholstery’s surface. Consider Stoner Car Care’s Upholstery Cleaner; it features a foaming action and is safe for all colors and types of cloth.
For additional tips and tricks for cleaning cloth upholstery, check out our complete guide.
Seat cleaning techniques
Regardless of your seat’s material, begin by spraying cleaner on the top and headrest. Working from the upper areas down prevents drippage onto previously cleaned areas below. For leather, use a microfiber towel to rub off the cleaner. For cloth, use a medium-bristled brush, starting with light pressure and gradually increasing as needed.
Work your way down, carefully cleaning the cracks and crevices of the seat. These areas often house crumbs, dust, and other small debris. Use a conservative amount of cleaner, and scrub accordingly.
We recommend your vehicle’s windows or doors open as you complete the following steps. It’ll take the seats some time to dry, and free-flowing air helps speed up the process.
Clear dust on the dashboard
The dashboard is an essential part of your car. Before applying any cleaning products, remove dust and other light debris from your dashboard with a duster or dry microfiber towel. Both cleaning tools are great at attracting and trapping dust, preventing it from traveling elsewhere in your cabin. Areas such as the top of the dashboard, behind the steering wheel, and the gauge cluster commonly collect debris.
Carefully clean the center stack
The center stack houses vital tools: the stick shift, radio, buttons, knobs, etc. While these features are important to keep clean, excess cleaners mustn’t seep into them. We recommend spraying a trim cleaner into a microfiber towel and wiping it down to avoid overspray and provide more control on the areas you intend to wipe.
Most modern cars often feature an LCD infotainment system. These can often seem daunting to clean, but it is easily doable with consideration and the proper tools. Before applying any product, check your owner’s manual for recommendations on screen cleaning. When cleaning electronics, spray a screen cleaning product onto a microfiber and wipe in a back-and-forth or side-to-side motion to avoid streaking. Avoid glass cleaners as they use strong chemicals or color additives that could damage the screen with prolonged exposure.
Detail remaining trim areas
Did you know the sun can fade or even crack plastics over time? Using a proper trim cleaner can help protect your plastics and keep them looking fresh over time. If you need a trusty trim cleaner, consider Power Clean. It offers a matt finish and protects plastics against weather, the sun’s UV rays, and more.
For small areas, spray your trim cleaner onto a microfiber towel and wipe. Trim cleaners can successfully clean door jambs, dashboards, and interior plastics but avoid using them on windows, speedometers, and screens.
Wipe interior windows
Anyone with kids or dogs knows about window smudge marks. Use a streak-free glass cleaner to clean the glass in seconds. Consider Invisible Glass – it’s streak-free, ammonia-free, and safe for use on standard glass or tinted windows.
Spray a conservative amount of glass cleaner on the window, and wipe in a back-and-forth motion — work from top to bottom to avoid dirty run-off contaminating already-cleaned areas of the window.
Ride clean and comfortable!
Outside of your home or office, chances are you spend a great deal of your time inside your vehicle. Deep cleaning your car’s cabin takes effort, but the benefits of a clean interior are well worth the trouble. Follow these steps to clean inside your car: Take out and clean the floor mats, remove large items, vacuum the interior, clean upholstery on the seats, clear dust on the dashboard, carefully clean the center stack, detail remaining trim areas, and wipe interior windows. Take back your cabin, and ride away in clean comfort!

